Monday, May 18, 2015

homemade payday bars

Payday candy bars are a favorite.  I like the combination of sweet and salty.  These couldn't be easier to make. 
the finished candy bars

bottom layer--dry roasted peanuts in a buttered pan

pb chips and butter melting

in goes the sweetened condensed milk

marshmallows

marshmallows and chip mixture

middle layer--marshmallow peanut butter chip mix tops the nuts

top layer--peanuts pressed onto the middle layer

Homemade payday bars

16 ounces dry roasted peanuts
2 cups peanut butter chips
3 Tbsp butter
14 ounce can sweetened condensed milk
10.5 ounce bag mini marshmallows
1-2 Tbsp flaked sea salt

Butter a 9x13 cake pan.  Place 1/2 of the dry roasted peanuts in the bottom of the pan.  Melt the peanut butter chips and the butter in a microwave or double boiler.  If using the microwave heat in 30 second intervals at 50% power, stirring after each until melted.  Add the sweetened condensed milk.  Microwave on high for one more minute and stir until smooth.  Fold in the marshmallows until the marshmallows are coated with the peanut butter mixture.  Pour over the nuts and spread out pressing the remaining nuts over the top surface.  Top with flakes sea salt and chill for one hour.  Cut into squares.

Source: here

Sunday, May 17, 2015

homemade butterfinger bars

I am serving supper for a meeting and wanted to have a trio of bite size desserts to serve to our meeting members.  I decided on homemade candy bars.  This is a recipe that I had pinned quite a while ago but have not tried yet.  I am a Butterfinger fan.  This recipe uses only three ingredients.  Two are melted together and patted into a glass baking pan.  Once they have cooled they are coated in the third ingredient and allowed to set.  The three ingredients?  Candy corn, peanut butter and milk chocolate chips.  The original recipe called for melting the candy corn in a microwave.  My microwave is not working right now and I am trying to decide before I repair it if I really need one as I rarely use it.  So I used a double boiler.  It seemed to take forever for the candy to melt but once it does, the peanut butter is added.  I left my pan on the stove while the peanut butter melted and was incorporated into the candy corn as it seemed that the melted candy needed a little more heat to melt the peanut butter. 
candy corn and peanut butter
 Once it was incorporated I placed it in a parchment lined glass 8 inch square pan and pressed it into an even layer.   When I got to actually dipping the centers I was thinking that my pieces were thicker than a true butterfinger and I cut some of them in half.  Next time I will try a 9 inch square pan to see if that is a nicer thickness for the center.  `
the cooling center mixture
The original recipe called for allowing it to cool and then using a pizza cutter to cut into bars.  I let it cool for a while but while it was still warm I lifted the parchment out of the pan and used my bench scraper to cut it into pieces and then let it finish cooling. 

I used my chocolate melter to melt the chocolate chips and then I dipped the cool centers into the chocolate, coating all sides and allowing most of the excess to drip back into the pan.  I them placed the coated centers on parchment to allow the coating to set. 
finished candy bars

Homemade butterfinger candy bars


Centers
3 cups candy corn candies
1 1/2 cups creamy peanut butter

Coating
2 cups milk chocolate chips or candy melts

Melt the candy corn.  This took a long time in the double boiler.  Add the peanut butter to the warm melted candy and the heat of the candy corn should melt the peanut butter but if it does not put it back on the heat or in the microwave for a little longer.  Stir to thoroughly combine.  Press the center mixture into a parchment lined square pan and allow to cool.  While still warm cut into bars.  Once the centers are cool dip them into the melted Chocolate. 


source: here

homemade twix cookies

I found these candy bar cookies on facebook and they couldn't be easier.  The base is a shortbread cookie cut with a cookie cutter.  I used a circle but they could just as easily be cut with a pizza cutter into strips and then the strips cut into shorter lengths to make a shape more resembling the candy bar.  Once baked and cooked, caramel candies are melted with a little bit of evaporated milk and applied to the cookies.  There was a little bit of a learning curve.  I was thinking that I could apply  the correct amount to the center of a few cookies and come back later to spread it into a nice circle but it started setting up immediately.  I will next time do one cookie at a time.  Once the caramel is set chocolate chips are melted with a small amount of shortening.  The melted chocolate is placed on top of the caramel and allowed to set up.  If you are in a hurry you can place the cookies in the refrigerator to set the chocolate but mine set up just fine at room temperature.  I am thinking that a squeeze bottle for might work for both the caramel and the chocolate to apply neatly on the cookie as long as you could keep it warm and free flowing.  Might be worth a try. 

the finished product


baking the cookes

melting the caramels

applying the caramel layer

Homemade Twix candy bar cookies


Shortbread cookie layer
1 1/2 cups butter (3 sticks)
1 cup powdered sugar
1 tsp vanilla
3 cups flour
1/4 tsp salt.

Caramel layer
15 ounce bag of caramels, unwrapped
2 Tbsp evaporated milk

Chocolate layer
2 cups milk chocolate chips
2 tsp shortening

Preheat oven to 350 .  Cream together the butter and powdered sugar.  Add the vanilla.  Add the flour and salt and mix until thoroughly combined.  I used my stand mixer but a hand mixer, food processor and a bowl and spoon would all work.  Roll out the dough rather thickly, 1/4 to 3/8 inch thick and cut into desired shapes.  Place on parchment lined baking sheet and bake for 14-16 minutes.  Once cool, melt the caramels with the evaporated milk in a double boiler or microwave.  Next time I will try my chocolate melter for the caramels and see if that will work.  When the caramel is set melt the chocolate chips and shortening and apply to the top of the caramel and allow to harden.    

Source: here

Saturday, February 21, 2015

waffles for the freezer

We like waffles. Lots of kinds of waffles.  My favorite traditional waffle recipe is the rich buttermilk waffle recipe from Smitten Kitchen's website.  But waffles are not very practical when you are cooking for one.  So I have been making a batch of waffles and then freezing the extras and warming them up in my toaster, just like the frozen waffles that you buy at the store.  But homemade.  With no added preservatives.  I have been sharing my homemade frozen waffles with my parents and they are liking them too.  So today I made a big batch (quadruple batch) and spent a couple hours making waffles and now I have a bunch of waffles cooling which will soon be ready to freeze.

They are so easy to mix up.  Here is my great big stoneware bowl with the dry ingredients.

Add in the wet ingredients, which are the buttermilk, yolks, melted butter and vanilla.

And then add in the stiffly beaten egg whites.

I use a waffle ladle to portion out my waffle batter.  Here is a waffle hot off the waffle iron, ready for a little butter and syrup or strawberries and whipped cream or even just a sprinkle of powdered sugar. 
And the best part is next week or next month I can have one just like it out of my toaster without the mess in less than a minute. 

An added benefit is that this makes it a bit easier for portion control.  There isn't a plate of extra waffles tempting you to have just one more.  Since this is that time of year when lots of people are re-energized about eating better I ran this thru a recipe calculator and discovered that this particular recipe made in my round waffle maker makes 32 waffles and each waffle is 220 calories, 28 carbs, 8 fat, 7 protein, 505 sodium and 4 sugar. 


 I usually freeze mine with a sheet of parchment paper between the layers.  One time I had a little bit of trouble with them sticking together even with the parchment and I attributed that to packing while they were still warm so I am letting them cool completely before boxing them up.

This box is the one that will be going to my folks for their freezer. 

Or possibly this one since it is a little bit bigger.

 I will check and see which fits better in their freezer. 

Waffles for the freezer

8 cups all purpose flour
2 tsp salt
8 Tbsp sugar
2 Tbsp baking soda
1/2 gallon lowfat buttermilk
8 eggs, separated
1 cup (2 sticks) butter, melted and cooled
2 tsp vanilla

Combine the first four ingredients in a large bowl.  Combine the buttermilk, egg yolks, butter and vanilla and add to the dry ingredients.  Beat the egg whites until stiff peaks form and then fold into the batter.  Oil the waffle iron if needed, and then preheat and bake the waffles following the instructions of your waffle maker. 

Adapted from this recipe.

Thursday, January 1, 2015

pb dog cookies

I found this recipe on the internet for a peanut butter dog cookie and decided to give it a try.  Turns out our dogs love them.  I made them right before Christmas and we had lots of taste testers give them a thumbs up.  I sent some home with Honey and Indiana when they went home and then made some more so that I could send some home with Reese and Greta when they went home.  I also bagged up a few to send home with my daughter Caitlin to take to work.  She doesn't have any dogs that live with her but she has dogs that visit regularly at her work.  It is an architecture firm.  How cool is it that they have dogs that come to work. 

This time I made a triple batch and took a couple of pictures of the process.  Although the ingredients are the same I did alter the process a bit.  I used a mixer instead of a spoon to mix and I did not use a floured surface to roll out the dough but rolled it out on a sheet of parchment paper. 


Peanut butter dog cookies

(single recipe)

3/4 cup milk
1 egg
1 cup creamy peanut butter
2 1/4 cup flour
1 Tbsp baking powder

Preheat oven to 325°.  In the bowl of a stand mixer combine the milk, egg and peanut butter and mix until well combined.  Combine the baking powder and flour and add in several additions.  It should make a stiff dough. Gather up a portion of dough, knead it into a ball and then roll it out so it is 1/4 inch thick   I used a round cookie cutter but any shape could be used or it could be cut into pieces with a pizza cutter.  Place the cut cookies onto a parchment lined baking sheet and place in the oven.  Bake for 20 minutes, turn the cookies over and bake an additional 15 minutes.  Repeat the process with remaining dough in batches.  The original recipe suggested that they could be baked longer for a harder cookie or rolled a little thicker for a softer cookie but my 3 dogs and 4 visiting dogs seemed to like them just fine. 

Note:  Because I had tripled the recipe and had many cookies to bake I tried placing three pans in the oven at the same time.  I have a convection feature on my oven and three racks and I should be able to cook three racks at once but I found that the center pan did not bake as quickly as the others and were significantly softer when it was time to turn them over.  I rearranged the baking sheets so that the center one was placed on the bottom rack when they went back in and still ended up leaving the one pan in the oven a few extra minutes.  When I baked the next batch of pans I only used two sheets at a time.

I used a round cutter 1 1/2 inches in diameter

place close together as they don't spread

ready to turn over and bake longer


Adapted from this recipe.

Monday, December 29, 2014

French baguettes

This year one of my Christmas gifts was a baguette pan from my daughter Nikole.  Today I made a couple of loaves with the directions and recipe that came with the pan.  It was a little time consuming as the dough raises twice, rests once and then raises again after shaping.  It was a pretty easy recipe, kneaded in the stand mixer with the dough hook. The pan has small, closely spaced holes and a pan of water is placed in the oven to create steam during cooking. 

Williams Sonoma's Crusty French Bread


2 cups warm water (100°)
1 tsp sugar
3 1/4 tsp dry yeast (I used quick rise)
5-5 1/2 cups all purpose flour
2 1/2 tsp salt
1 egg white slightly beaten with a pinch of salt

Combine the warm water and sugar in a small bowl and stir until sugar is dissolved.  Add the yeast and stir gently to mix then wait 5 minutes for it to get foamy.  Place 4 cups of flour and the salt in the bowl of a stand mixer and run the mixer on low to combine.  Slowly add the yeast mixture and combine on low for one minute.  Raise the mixer to low-medium and mix with the dough hook for 10 minutes adding the remaining flour 1/4 cup at a time.  (I used an additional one cup for 5 cups total.).  The dough should be elastic and pull away from the side of the bowl. 

Remove the dough from the mixer, knead for one minute and form into a ball.  The directions say to knead on a lightly floured surface but I did not flour my counter top and  my dough did not stick  Place the dough into a bowl in which a dusting of flour has been added.  Cover bowl with plastic wrap.  I covered the plastic wrap with a kitchen towel and placed it in a warm spot in the kitchen to raise until double (45-60 minutes)  When done with the first raise the dough is removed from the bowl, punched down and kneaded a couple of times, reshaped into a single ball and placed back in the bowl for the second raise.  The bowl is again covered with plastic wrap and a kitchen towel.  Allow to raise until double, about 20-30 minutes.

When the second raising is complete, turn the dough out and punch down again.  Divide the dough into two equal portions and form into two balls.  Allow to rest for five minutes.  I covered my dough with a kitchen towel.  Line the baguette pan with a kitchen towel that has been dusted with a small amount of flour.  Shape each dough ball into a long loaf with tapered ends.  The loaf should be about as long as the pan.  Repeat with the second dough ball.  Fold the extra toweling back over the dough and let it raise 20 minutes in a warm place. 

Once raised, remove the towel with the formed baguettes from the pan.  The directions said to spray the pan with cooking spray.  I brushed on a thin layer of  my homemade pan coat.  Then use the towel to roll the dough back into the pan.  Use a knife to make 3-5 shallow (1/4 inch deep) slashes on the tops of the loaves at a diagonal.  brush the surface of the loaves with the egg white/salt mixture. 

Place the pan in a oven that has been preheated to 425°.  The rack should be at the bottom 1/3 of the oven and a pan of boiling water should be placed on the oven floor or the lowest rack.  I used a cookie sheet on the bottom rack and the bread one level higher.  I placed the empty cookie sheet  in the oven, added the hot water and then place the baguettes in the oven.  The recipe calls for them to bake for 30-35 minutes or until they sound hollow when tapped.  I baked mine for 30 minutes. 

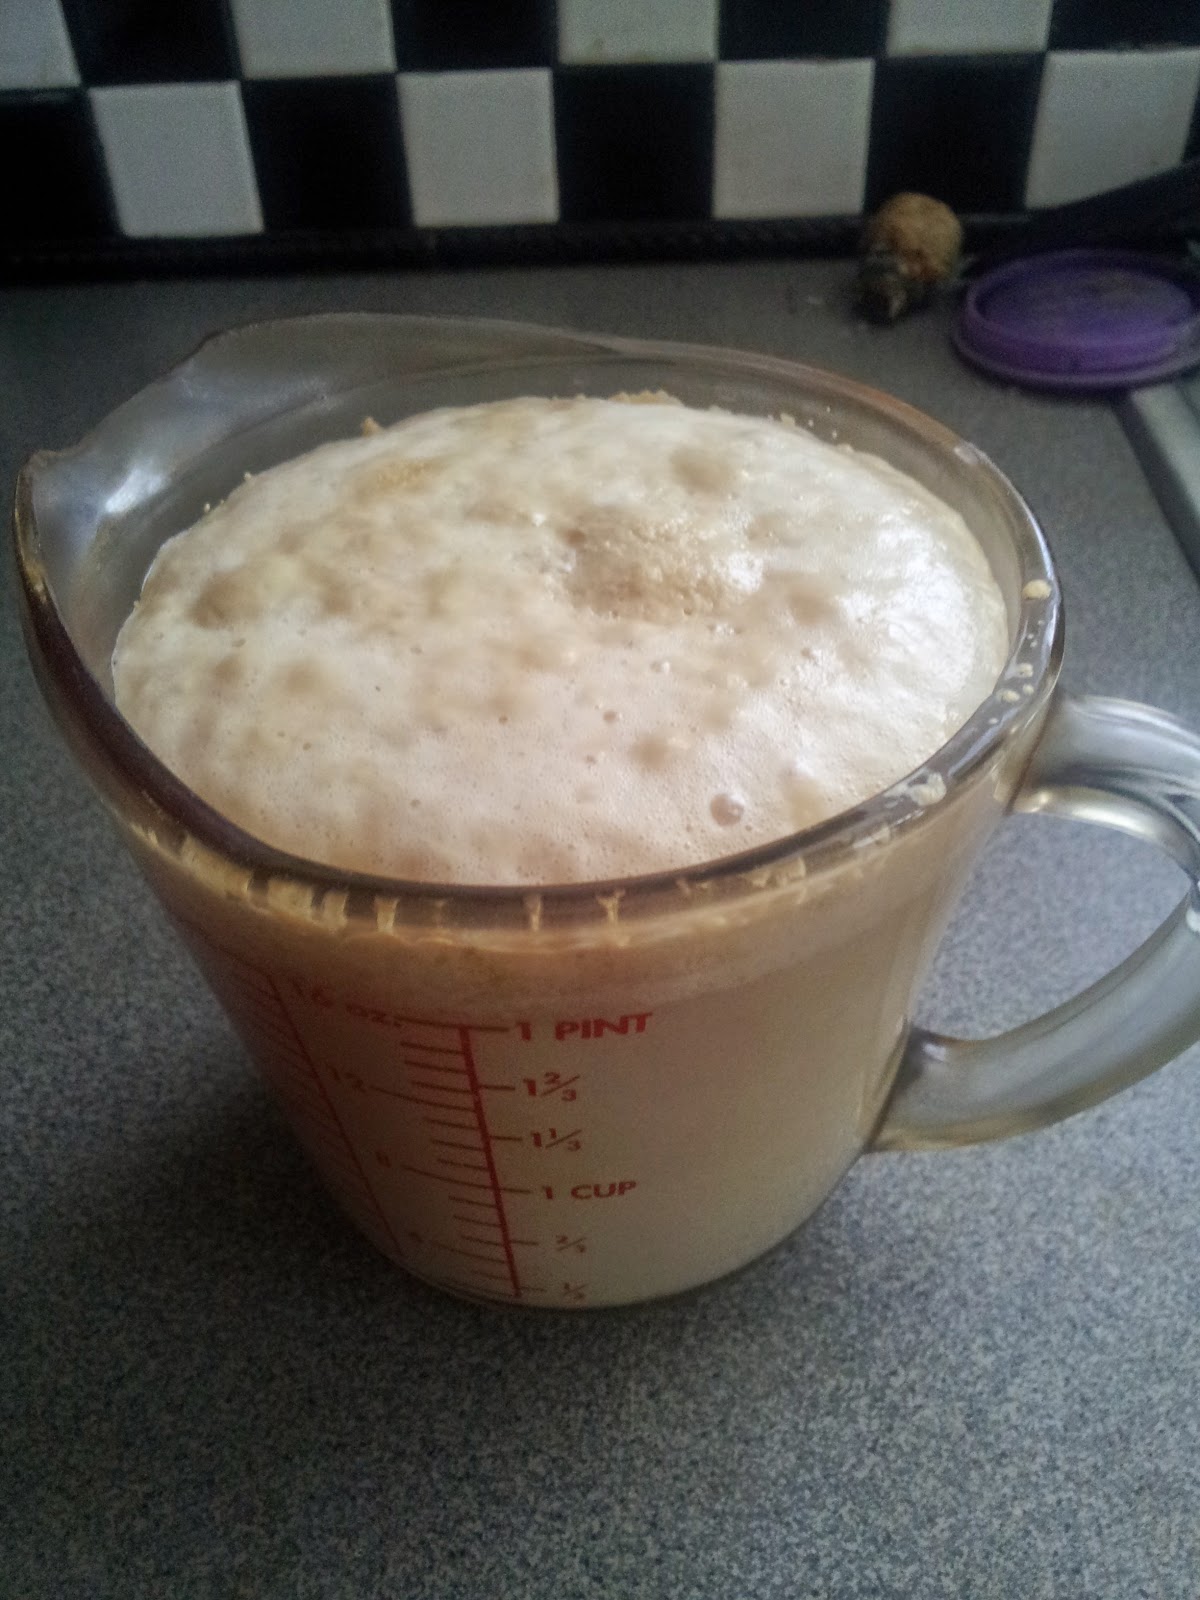
foamy water, sugar and yeast

dough ball ready for first raise

covered with plastic wrap and my new kitchen towels from Caitlin

shaped baguette on towel on pan

towel edges folded over

ready for the oven

all finished

the inside of the loaf
       
I thought the bread turned out great.  The outside was chewy, the inside was softer with great flavor.

baguette pan
What a great gift.  Thanks Nikole!

Monday, December 15, 2014

denny's and jan's donuts

This was originally my Grandma Alma's recipe but my parents have made it their own.  Several times a year they do 5, 6 or even 8 batches of these donuts.  Dad has a restaurant fryer with a donut dispenser mounted on it and the batter goes into the dispenser and then the donuts drop out of the dispenser into the hot fat.  Dad is the fryer and mom mixes up the batter.  No matter how many batches they do each one is mixed up individually as they are ready for it.  Grandma's recipe is one that she perfected years ago and mom never wavers from it.  All of the ingredients are added in the order listed and mixed with a mixer until the final 2 cups of flour which are stirred in by hand.  The fat is always lard.  The cream is always whipping cream but not heavy cream.  Mom has a stand mixer but she always uses her small electric hand mixer with the two beaters.   

Denny's and Jan's Donuts


4 eggs
1 3/4 cup sugar
1 tsp nutmeg
scant 1/2 cup whipping cream
1 cup buttermilk
3/4 cup buttermilk with 1 tsp soda
2 cups flour
1/2 cup flour with 2 tsp baking powder and 1 tsp salt
2 cups flour

In a large mixing bowl start by beating the eggs until they are slightly beaten.  Add the sugar and then the nutmeg.  When those are combined add the scant 1/2 cup whipping cream.  Add the 1 cup buttermilk and mix.  Combine the 3/4 cup buttermilk with the 1 tsp soda and then add to the mixing bowl and mix.  Using the mixer add the first 2 cups of flour.  Mix the baking powder and the salt with the 1/2 cup flour and add to the mix, mixing well.  Remove the mixer and mix in the final 2 cups of flour with a spoon.  My mom uses a large slotted spoon.  Use the dispenser to drop the donuts into the lard which has heated to 375-400° .  Turn the donuts to cook both sides and then drain on paper towels.  We dip the warm donuts in sugar. After they cool mom and dad bag them up in zipper bags and freeze them. 

Mom does not double the recipe or mix it up ahead of time.  She waits to make each succeeding batch until dad is just about ready for it.  I don't know if it is the leavening working for too long or some other issue but the donuts are just not as successful when mixed up differently.  She also is usually on a hunt for whipping cream when she knows they will be making donuts.  For some reason the heavy cream has resulted in less successful donuts when used. Our local grocery stores do not always offer plain whipping cream.  It is worth it though, even if she has to go out of town to get it because the donuts are that good.